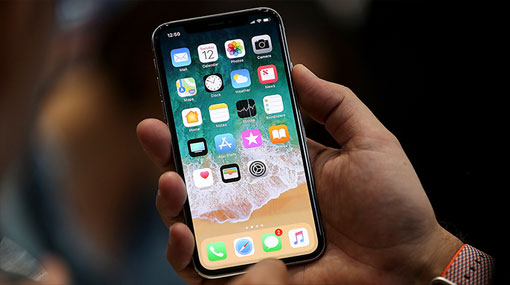
A step-by-step guide to backing up your iPhone
February 5, 2018 10:03 am
A lot of people learn the hard way how important it is to back up your iPhone. Whether you’ve lost your device, drowned it in the toilet or realized you’re missing precious photos and messages after installing an iOS update, it’s good to get into the habit of backing upoften.
The good news is there are two easy ways to do so: via iCloud or iTunes.
Here’s a step-by-step guide for how to back up your device so you don’t lose messages, photos, contacts or data.
iCloud backup vs. iTunes backup
There are two ways to back up your iPhone: iCloud and iTunes.
iCloud stores information in the cloud. It’s the easier option and lets you create and use backups as long as you’re connected to Wi-Fi.
iTunes will preserve your data on your Mac or PC. If your computer has the storage space and you’ve installed iTunes, you can save your data offline.
How to back up your iPhone on iCloud
1. To start your iCloud backup, make sure your device is connected to a Wi-Fi network.
2. Go to Settings, click on your name and tap iCloud. (If you’re using iOS 10.2 or earlier, go to Settings, then scroll down and tap iCloud.)
3. Tap iCloud Backup (if you have iOS 10.2. or earlier, it should just say “Backup.” Turn on Backup.)
4. Finally, hit the “Back Up Now” button.
Don’t want to go through these steps every day? No problem. iCloud can also automatically back up your device.
First, check that iCloud Backup is turned on using the steps above. Your device will need to be plugged into a power source, connected to Wi-Fi and the screen will need to be locked. You’ll also need enough available space on iCloud to do automatic backups.
Apple gives users 5 GB of iCloud storage for free, but that may not be enough for heavy-data users. If you need more storage, you can buy it with plans starting at $0.99 a month.
How to back up your iPhone on iTunes
1. Open iTunes and connect your device to your computer.
2. You should see a message pop up on your screen asking you for your passcode, or to “Trust This Computer.” Follow the steps provided.
3. Select your device when it pops up in iTunes. Some personal data, like Health and Activity data, requires you to encrypt your backup. In order to do that, select the “Encrypt” backup box and create a password.
4. If you don’t need to encrypt your data, click “Back Up Now.”
- CNN Tech


